
Yes, you can design an accessory dwelling unit for full accessibility, and you should plan for it from day one, considering practical universal-design features and accessibility requirements for aging-in-place projects. Prioritize a zero-step entry, a continuous accessible route through the unit, and at least one fully accessible bathroom. Mark these three priorities on whatever floor plan you’re considering and raise them with your builder or permit reviewer before groundbreaking, since adding Universal Design at initial construction costs far less than retrofitting later.
TL;DR:
- Prioritize a zero-step entry, accessible bathroom, and a continuous route in the initial design to save costs on retrofitting later.
- Structural features like wider doors and grab-bar backing should be specified from the start, as adding them after drywall is costly.
- The most critical accessible rooms are the bathroom with a curbless shower and kitchen with knee clearance, along with a clear path of at least 36 inches.
- Local building codes, not ADA standards, govern private ADUs, making early consultation with authorities essential to avoid costly revisions.
- Using pre-approved accessible plan libraries and turnkey builders can streamline compliance and ensure features are built correctly from the beginning.
Table of Contents
- ADU Accessibility Design: The Priority Features Checklist
- Room-by-Room Guidance for an Accessible ADU
- Do ADAs Have to Meet ADA Standards?
- What Accessibility Features Cost, and When to Add Them
- Vetting a Design-Build Partner for an Accessible ADU
- Where to Find Pre-Approved Accessible Plans and Next Steps
- Build It Right the First Time with Live Large™
- Sources
ADU Accessibility Design: The Priority Features Checklist
Not every accessible feature costs the same, and not every feature matters equally. When you’re comparing plans or briefing a designer, work through this list in order.
- Zero-step entry: no more than a half-inch threshold, with a covered landing so rain and ice don’t turn the doorway into a hazard.
- Clear door widths: 32 to 36 inches at every door along the main path of travel, including closets and the bathroom.
- Hallway width: at least 36 inches, wider where a wheelchair needs to turn into a room.
- Bathroom clearances: a roll-in or low-threshold shower, plus a 30 by 48 inch clear floor space in the toilet and sink.
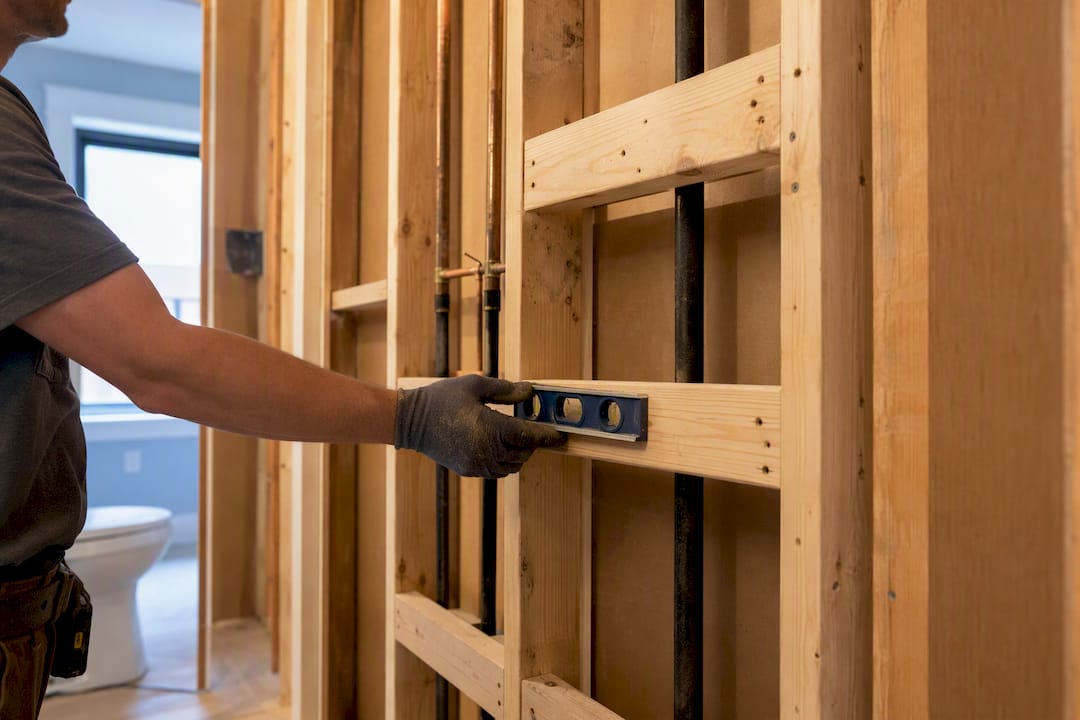
- Grab-bar blocking: solid wood or plywood backing installed inside the wall during framing, even if bars go in later.
- Kitchen reach ranges: at least one section of counter with knee space below and controls within easy reach.
- Lever door handles and rocker light switches instead of knobs and toggles, since they work for people with limited grip strength.
- Switch and outlet heights: switches around 44 to 48 inches from the floor, outlets closer to 15 inches, so both are reachable from a seated position.
- Slip-resistant flooring throughout, especially at entries and in the bathroom.
If your budget forces tradeoffs, the entry, the bathroom, and grab-bar blocking come first. Kitchen modifications and smart controls can often wait, but structural clearances and backing cannot be added cheaply after drywall goes up.
Pro Tip: Ask your builder to install grab-bar blocking behind every bathroom wall, even in units where nobody currently needs a grab bar. It costs almost nothing at framing stage and turns a future retrofit into a two-hour job instead of a wall-opening project.
Room-by-Room Guidance for an Accessible ADU
Generic accessibility advice falls apart in the details. Here’s what actually matters, room by room.
-
Entry and path of travel. Keep ramp slopes at 1:12 or gentler, with landings at least 5 feet by 5 feet at the top and bottom. A covered entry protects against weather and gives someone using a walker or wheelchair a dry spot to manage keys or a door.
-
Living area circulation. Maintain a 60 inch turning circle in at least one open area, and keep pathways around furniture at least 36 inches wide. Open floor plans make this dramatically easier than chopped-up layouts.
-
Kitchen. Favor continuous counters with no cabinets underneath at least one section, so a seated cook has knee clearance. Side-by-side refrigerators and front-control ranges beat top-mounted dials. Keep the primary work triangle compact so a resident with limited mobility isn’t crossing the room repeatedly.
-
Bathroom. A curbless shower with a fold-down bench beats a traditional tub-shower combo for almost every accessibility scenario, and it ages better too. Toilets need 18 inches of clear space to the centerline from any side wall, with grab bars mounted 33 to 36 inches above the floor on backed studs.
-
Bedroom and closet. Leave a 60 inch turning radius beside the bed, and specify closet rods that can be lowered later instead of fixed at standard height.
-
Laundry. Front-load washers and dryers with controls on the front panel, not the top, work for seated and standing residents alike. Set the counter for folding at standard counter height, not elevated cabinetry.
These numbers come from checklist guidance developed specifically for ADU accessibility planning, and they hold up whether the ADU is a rental, a place for aging parents, or your own future home.
Do ADAs Have to Meet ADA Standards?
No, and this trips up more homeowners than it should. The Ada govern public facilities and commercial spaces, not private residences. Your ADU falls under local residential building codes instead, plus fair housing law if you plan to rent it out. That distinction matters because ADA specifications (like exact turning radii for wheelchair users in commercial restrooms) are often stricter than what a home actually needs, while local codes may not require any accessibility features at all unless you ask for them.
Start with your state’s housing agency. California homeowners can check the Department of Housing and Community Development’s ADU resources for model ordinances and technical guidance that many municipalities adopt directly. At the city level, look for pre-approved plan libraries. San Diego’s program includes accessible-unit allowances with pre-approved plans requiring accessible bathrooms, kitchens, and bedrooms when a homeowner opts in, sometimes unlocking bonus floor area in exchange.
Your permit packet should include:
- Drawings that explicitly call out accessible features, not just general dimensions
- Specification notes identifying where grab-bar blocking goes
- Clearance callouts at every door and fixture
- Grading plans showing ramp slope and drainage away from the entry
Call your local planning department before you finalize drawings. Many jurisdictions, following strategies outlined by Colorado’s Division of Local Government, offer fee waivers or density bonuses specifically for accessible ADUs, and staff can tell you upfront whether your plan qualifies.
What Accessibility Features Cost, and When to Add Them
Accessibility costs concentrate in a handful of places: site grading for a zero-step ramp, a slightly larger footprint to fit turning radii, plumbing rerouted for a curbless shower, and specialty hardware like lever handles and adjustable-height counters. None of these are expensive in isolation. All of them are expensive to add after the walls are closed up.
- Grab-bar blocking during framing: a few dollars in plywood and an hour of labor
- The same blocking installed after drywall: an opened wall, patching, and repainting
- 36 inch doors specified from the start: no cost difference from 30 inch doors
- Widening a door after the fact: reframing the header and jamb
The math is straightforward: accessibility features cost the least at the exact moment most homeowners are tempted to skip them, during initial design. Napa Sonoma ADU Center’s guidance frames this as one of the clearest cases in residential construction where spending a little more upfront avoids spending a lot more later, and research on home modifications for older adults backs the long-term payoff: fewer falls, fewer injuries, and a longer stretch of independent living.
If the incremental cost still strains your budget, a home equity line of credit is the most common financing route homeowners use for ADU construction, and it’s worth asking your municipality directly whether fee waivers or grants apply to accessible units in your area.
Vetting a Design-Build Partner for an Accessible ADU
Not every contractor has built to these specifications before, and the wrong hire turns a good plan into a compromised one. Bring a written brief to every bidder that lists your non-negotiables: entry threshold, door widths, bathroom clearances, and grab-bar blocking locations. Ask each bidder directly whether they’ve built accessible ADUs before, and ask to see photos or floor plans from a completed project, not just a rendering.
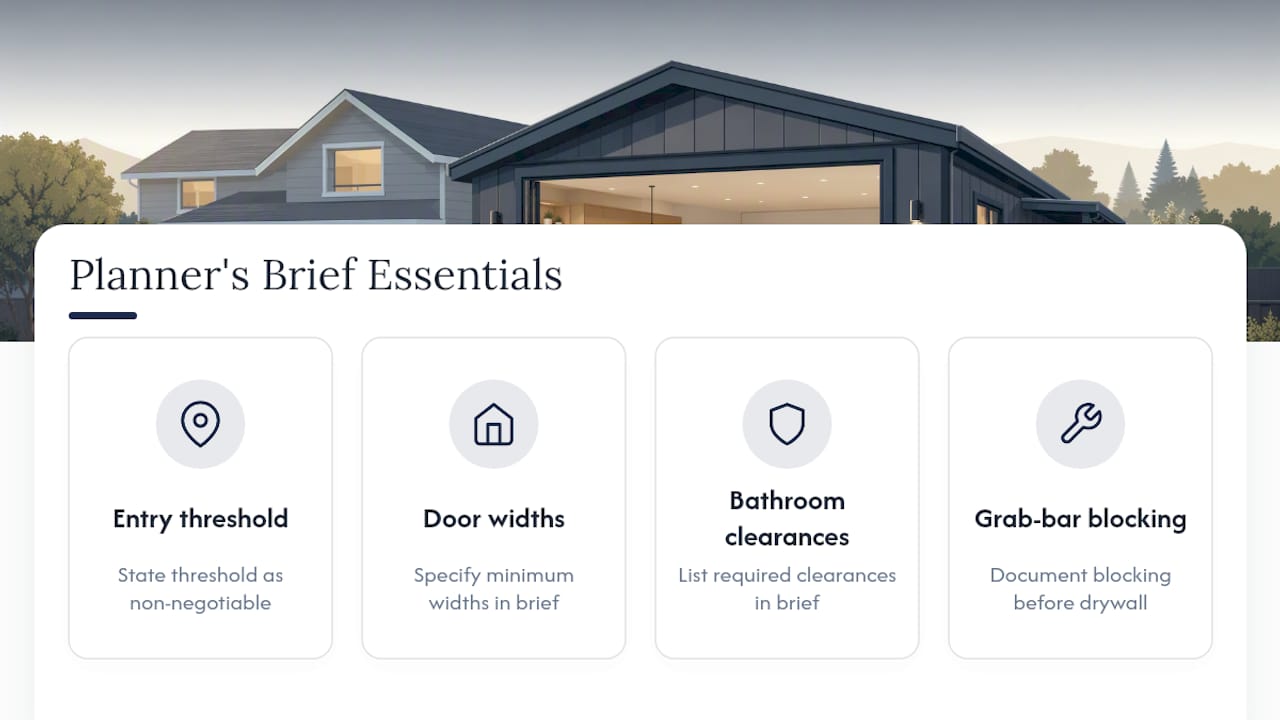
Get the details into the contract, not just the conversation. Specify who documents blocking locations before drywall goes up, who absorbs the cost of permit revisions if the reviewer flags a clearance issue, and what warranty coverage applies to accessible fixtures like roll-in shower pans.
Watch for red flags. A contractor who waves off blocking as unnecessary, hesitates to commit to documented clearances in writing, or can’t point to a single accessible project they’ve completed is telling you something important before you’ve signed anything.
Live Large™ builds ADUs as a turnkey process, handling permitting, construction, and financing assistance under one contract, which matters here specifically because accessible features require coordination between the permit reviewer, the framer, and the plumber that gets lost when those roles sit with separate vendors. A turnkey development model keeps one party accountable for whether the blocking actually ends up where the drawings say it will.
— Rudy
Where to Find Pre-Approved Accessible Plans and Next Steps
Pre-approved plan libraries exist precisely because homeowners kept running into the same accessibility questions city staff had already answered once. San Diego’s program pairs pre-approved accessible plans with bonus floor area for homeowners who build to the accessible standard, and similar approaches in places like West Denver are part of a broader push documented by Colorado’s incentive strategy guidance to reduce homeowner friction.
To check your own jurisdiction:
- Search “[your city] pre-approved ADU plans” and look for accessible or universal design options specifically
- Ask your local planning office about fee waivers or density bonuses tied to accessible units
- Review your state housing agency’s ADU portal for model ordinances your city may have adopted
- Request a copy of your city’s permit checklist so you know exactly what drawings and specification notes reviewers expect
If you’re weighing an ADU against a home addition on the same footprint, it’s worth comparing how an ADU differs from a house addition before locking in a site plan, since accessibility clearances shape which option actually fits your lot.
Build It Right the First Time with Live Large™
Retrofitting an accessible bathroom into a finished ADU means opening walls, rerouting plumbing, and paying contractor markup on rework you could have avoided at framing stage. Live Large™ builds accessibility into the process from the first design conversation, not as a change order after the fact, and handles permitting, construction, and financing assistance under one contract instead of splitting responsibility across separate vendors.

That matters most for accessible features because they depend on coordination: the framer needs to know where blocking goes before drywall, the plumber needs the shower pan specified before rough-in, and the permit reviewer needs drawings that call out clearances explicitly. Live Large™ manages that sequence directly, whether you’re planning an ADU for aging in place, for a family member with mobility needs, or simply to widen your rental pool down the road, since accessible units broaden the market of tenants who can live there.
If you’re in Florida, Tampa’s ADU policy reforms and Pasco County’s ADU approvals have opened up new opportunities worth checking against your address. Reach out to Live Large™ for a plan review, and get a clear answer on what an accessible ADU costs on your lot before you commit to a design.
Sources
- Ada
- ADUs, Accessibility & Universal Design — Napa Sonoma ADU Center
- Incentivize Accessible and Visitable ADUs — Colorado DLG
- San Diego informational bulletin (accessible ADU guidance) — City of San Diego
- Home modifications and aging in place (peer-reviewed literature) — PMC